For this week’s assignment, I am making a video about how to access Kanopy Kids.
You may remember that I did a post on Kanopy Kids a few weeks back!
You can access that previous post here to catch up if you didn’t see it.
Making this tutorial
In this video I focused mainly on adding your library card and creating an account to access Kanopy Kids. This is usually the thing that people struggle with the most with the library’s e-resources (creating an account) so I decided to make it the topic of the tutorial.
When working on the tutorial, the biggest challenge I found was transitioning between screens I could access as a user who had already made an account, to screenshots of the parts I couldn’t access again. I also struggled with figuring out how to keep only the parts of the frame in the video that I want.
I ended up using the Awesome Screen Recorder & Screenshot to record the video. This is a Chrome extension, so I thought it would be easy to record while toggling through the different tabs. It was fairly easy to use once I decided which part of the screen I wanted. I tried out recording just a tab, but then when I needed to go to my screenshots that didn’t work so I did the window option.
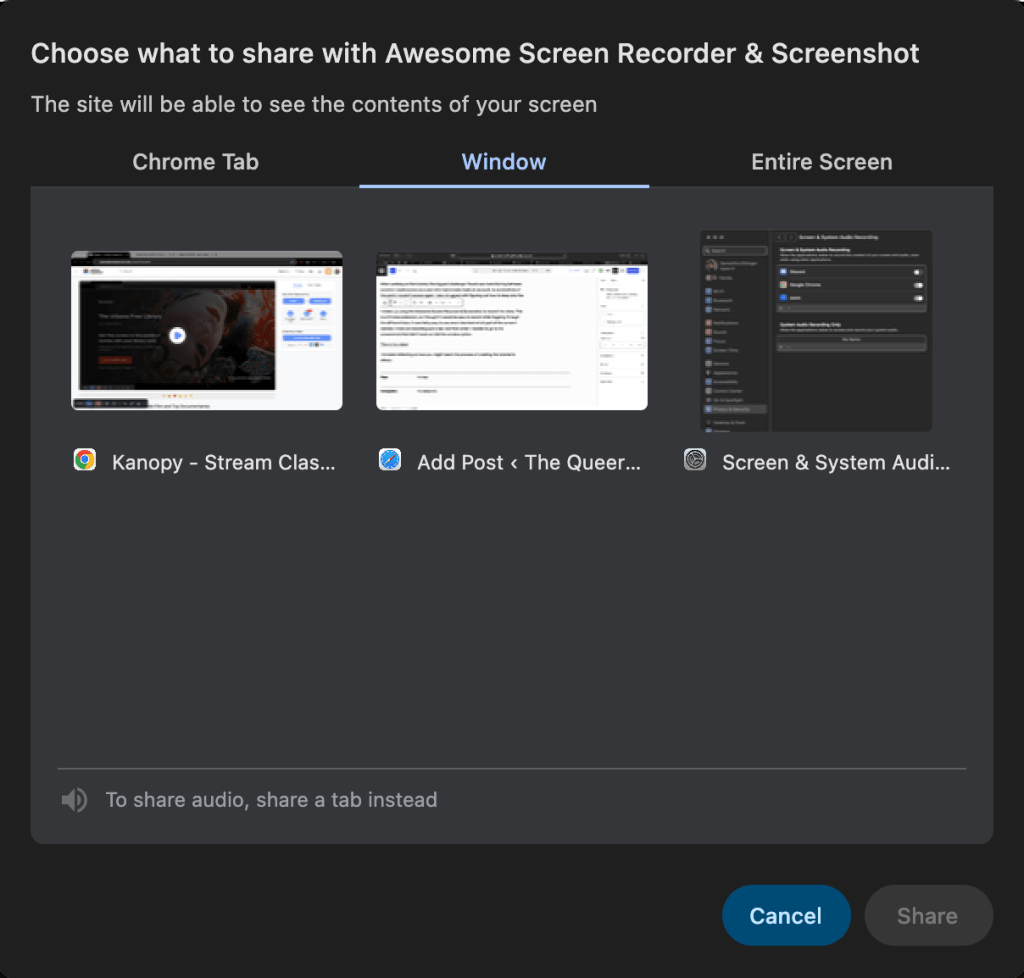
An example of the different screen recording options.
To edit the video I decided to use Kapwing. It was my first time using it, and I found it to be really intuitive. It had a feature to auto generate captions, and I just had to move them on the screen to the most advantageous place. They also had a very readable font option for the captions, which was very convenient.
I used Purple Planet to get royalty free music for the video, and I also added a final frame of clouds as a transition out using Kapwing.
Teaching the making of a tutorial to others
If I was teaching my older children how to make a tutorial, I would focus on preparation being the key to success.
Students need to think through each screen they need to show, how they would explain what they are doing there verbally, and plan to have their notes separate from the screen where they are recording (either digitally on another screen or printed).
The biggest piece of advice I would give would be to remember that you can always pause the recording for a second if you need a transition period, or need to cough, or don’t remember what you want to do next!
Ultimately I’m happy with how the video turned out (even though I don’t love listening to my own voice).
Check out the video below and let me know what you think!
This is the video link if you’d prefer to watch it on Youtube!


Leave a comment